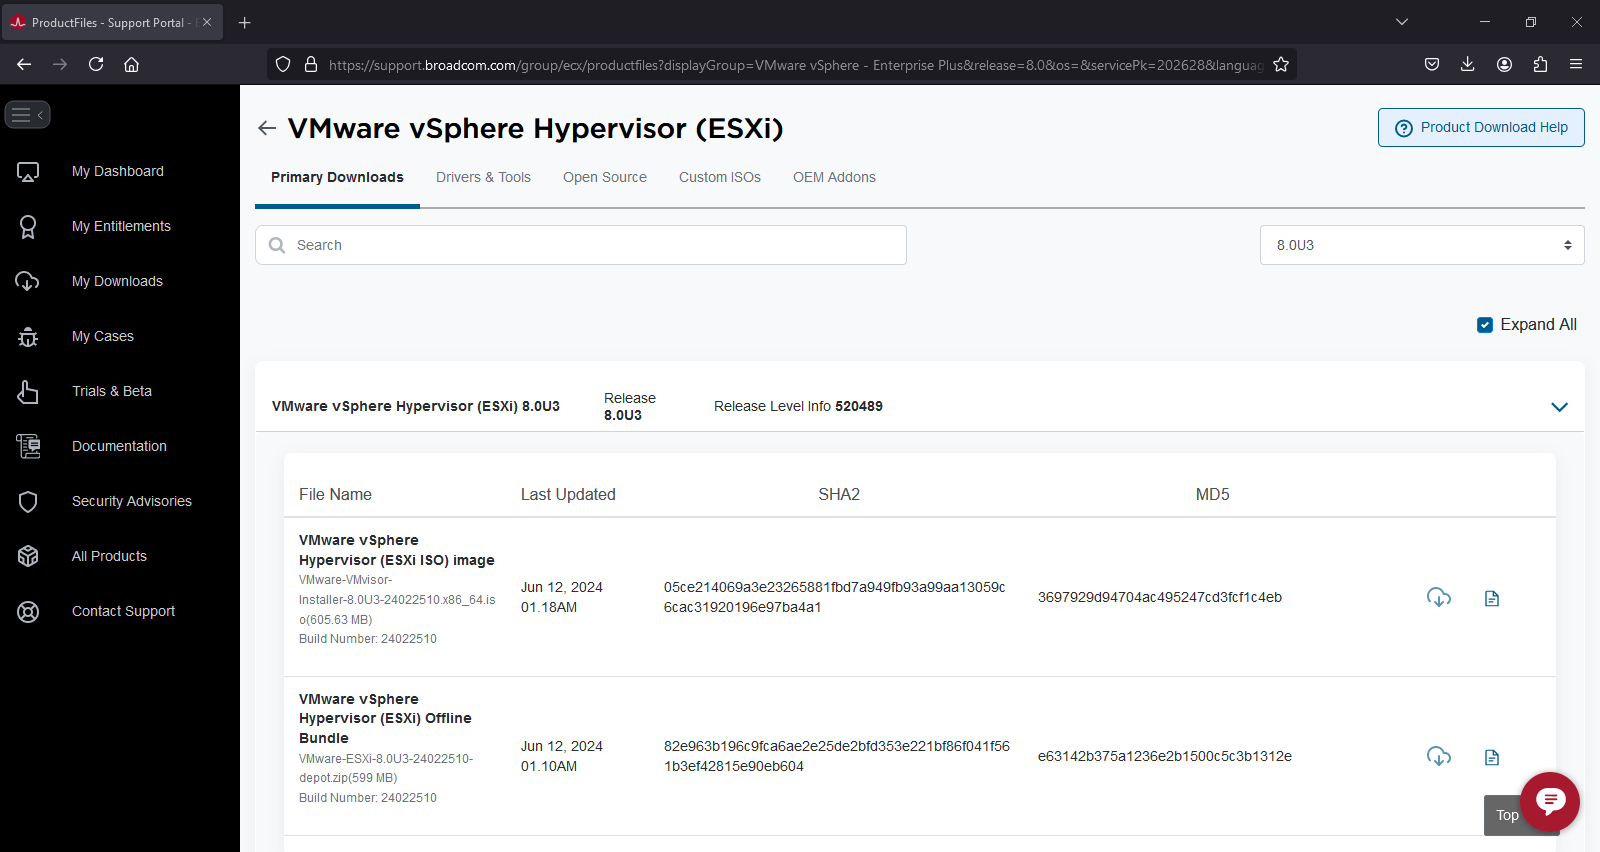
Download the ESXi ISO Image: Visit https://support.broadcom.com/ to download the VMware vSphere Hypervisor (ESXi) ISO image.
Obtain Rufus: Download Rufus from https://rufus.ie/en/. Choose either the portable version or the standard executable file.

Prepare Your USB Drive:
- Ensure your USB drive is at least 8 GB in capacity and back up any important data on it, as this process will erase all existing data.
- Insert the USB drive into a USB port on your computer before launching Rufus.
Launch Rufus:
- Open Rufus on your computer.
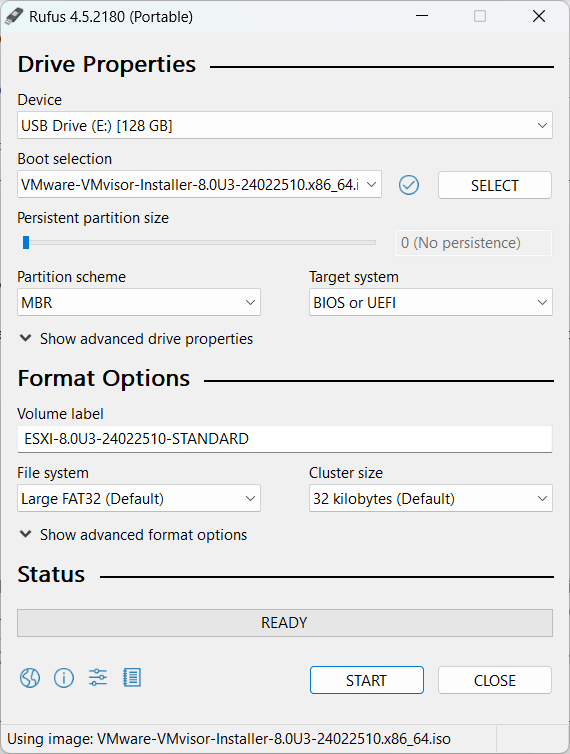
- In Rufus, select your USB drive from the drop-down menu.
- Choose the ESXi ISO image file you downloaded earlier.
- Set the Partition Scheme to MBR (Master Boot Record) and the File System to FAT32 if not automatically set.
Create the Bootable USB Drive:
- Click on the Start button.
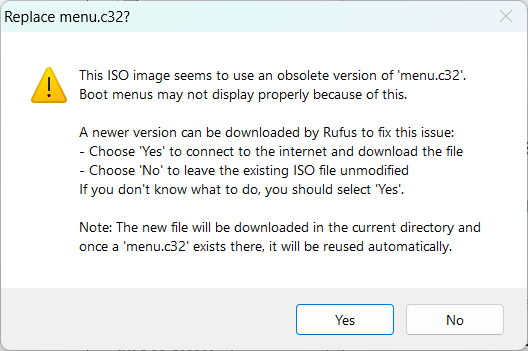
- If prompted with a message to replace menu.c32, select Yes.
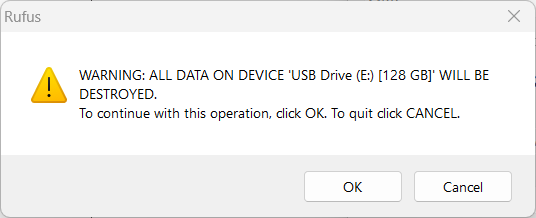
- Confirm that you have selected the correct USB drive and click OK to proceed.
Verify and Eject:
- If possible, verify the integrity of the downloaded ISO image before creating the bootable USB.
- Once Rufus has completed the process, safely eject your USB drive. Your bootable USB drive is now ready for installing ESXi.